Laundry Room Makeover on a Budget plus DIY Storage Shelves
Thank you Gordmans for partnering with me. As always, all opinions are my own.
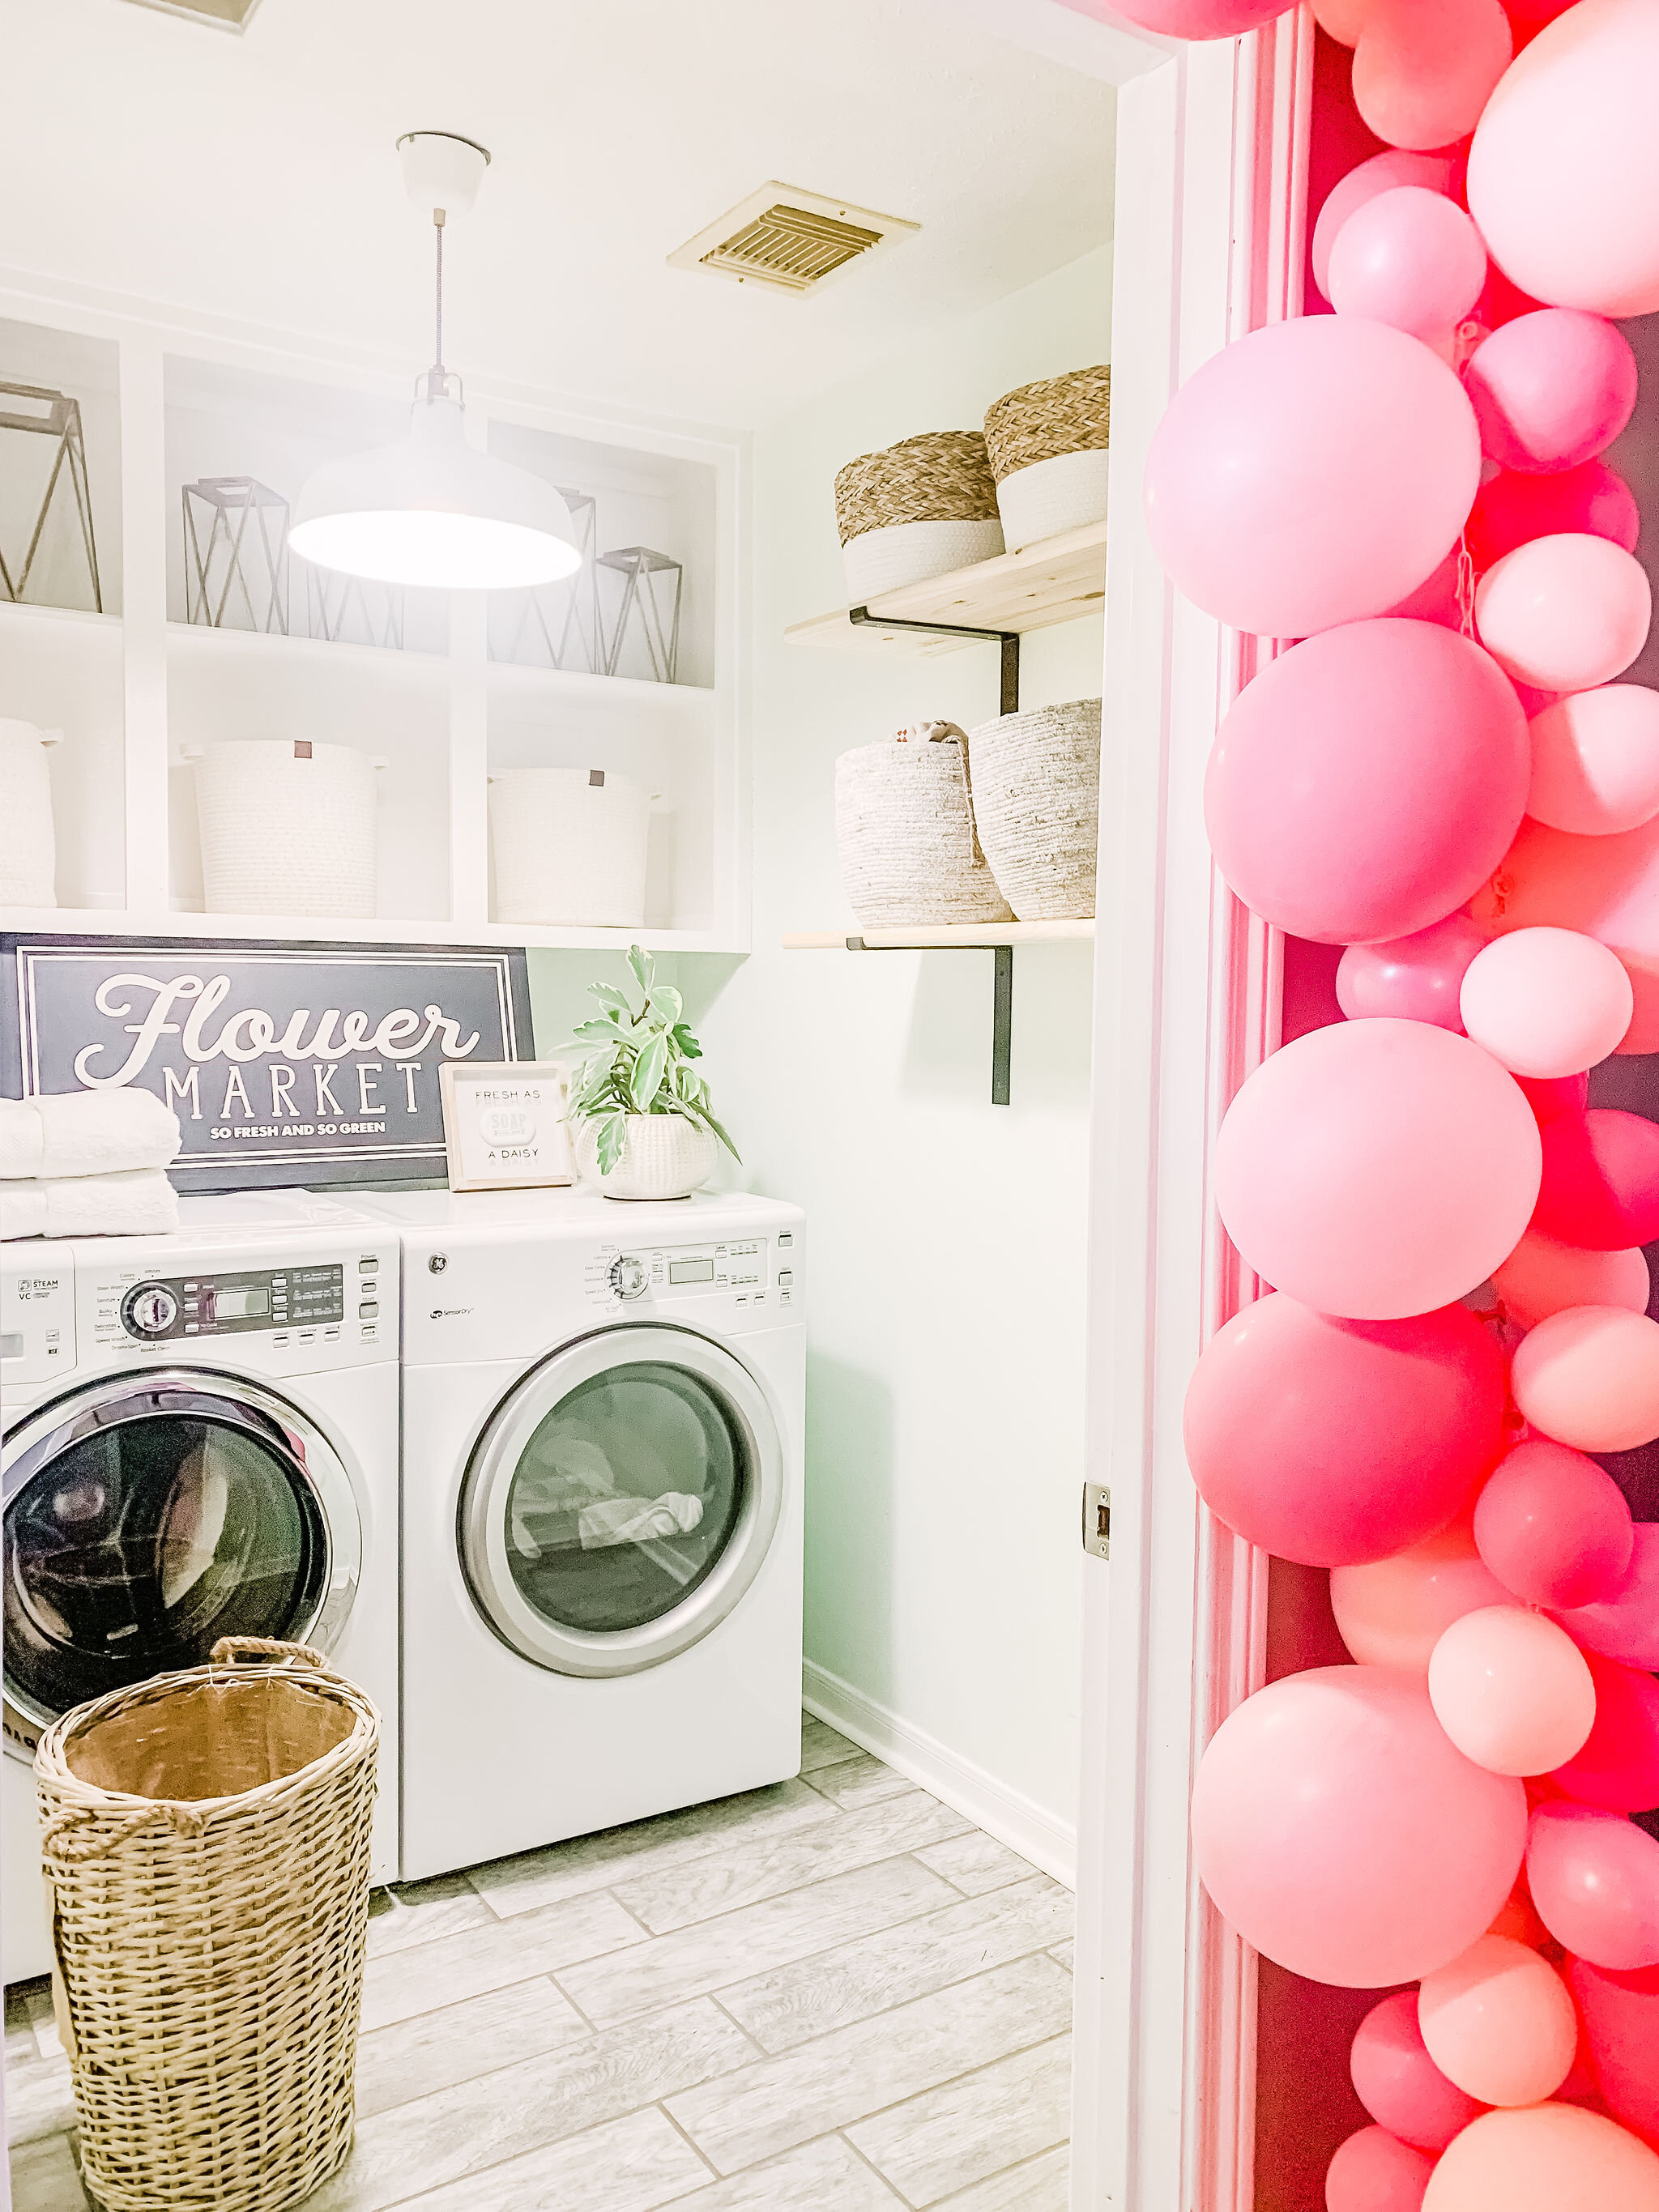
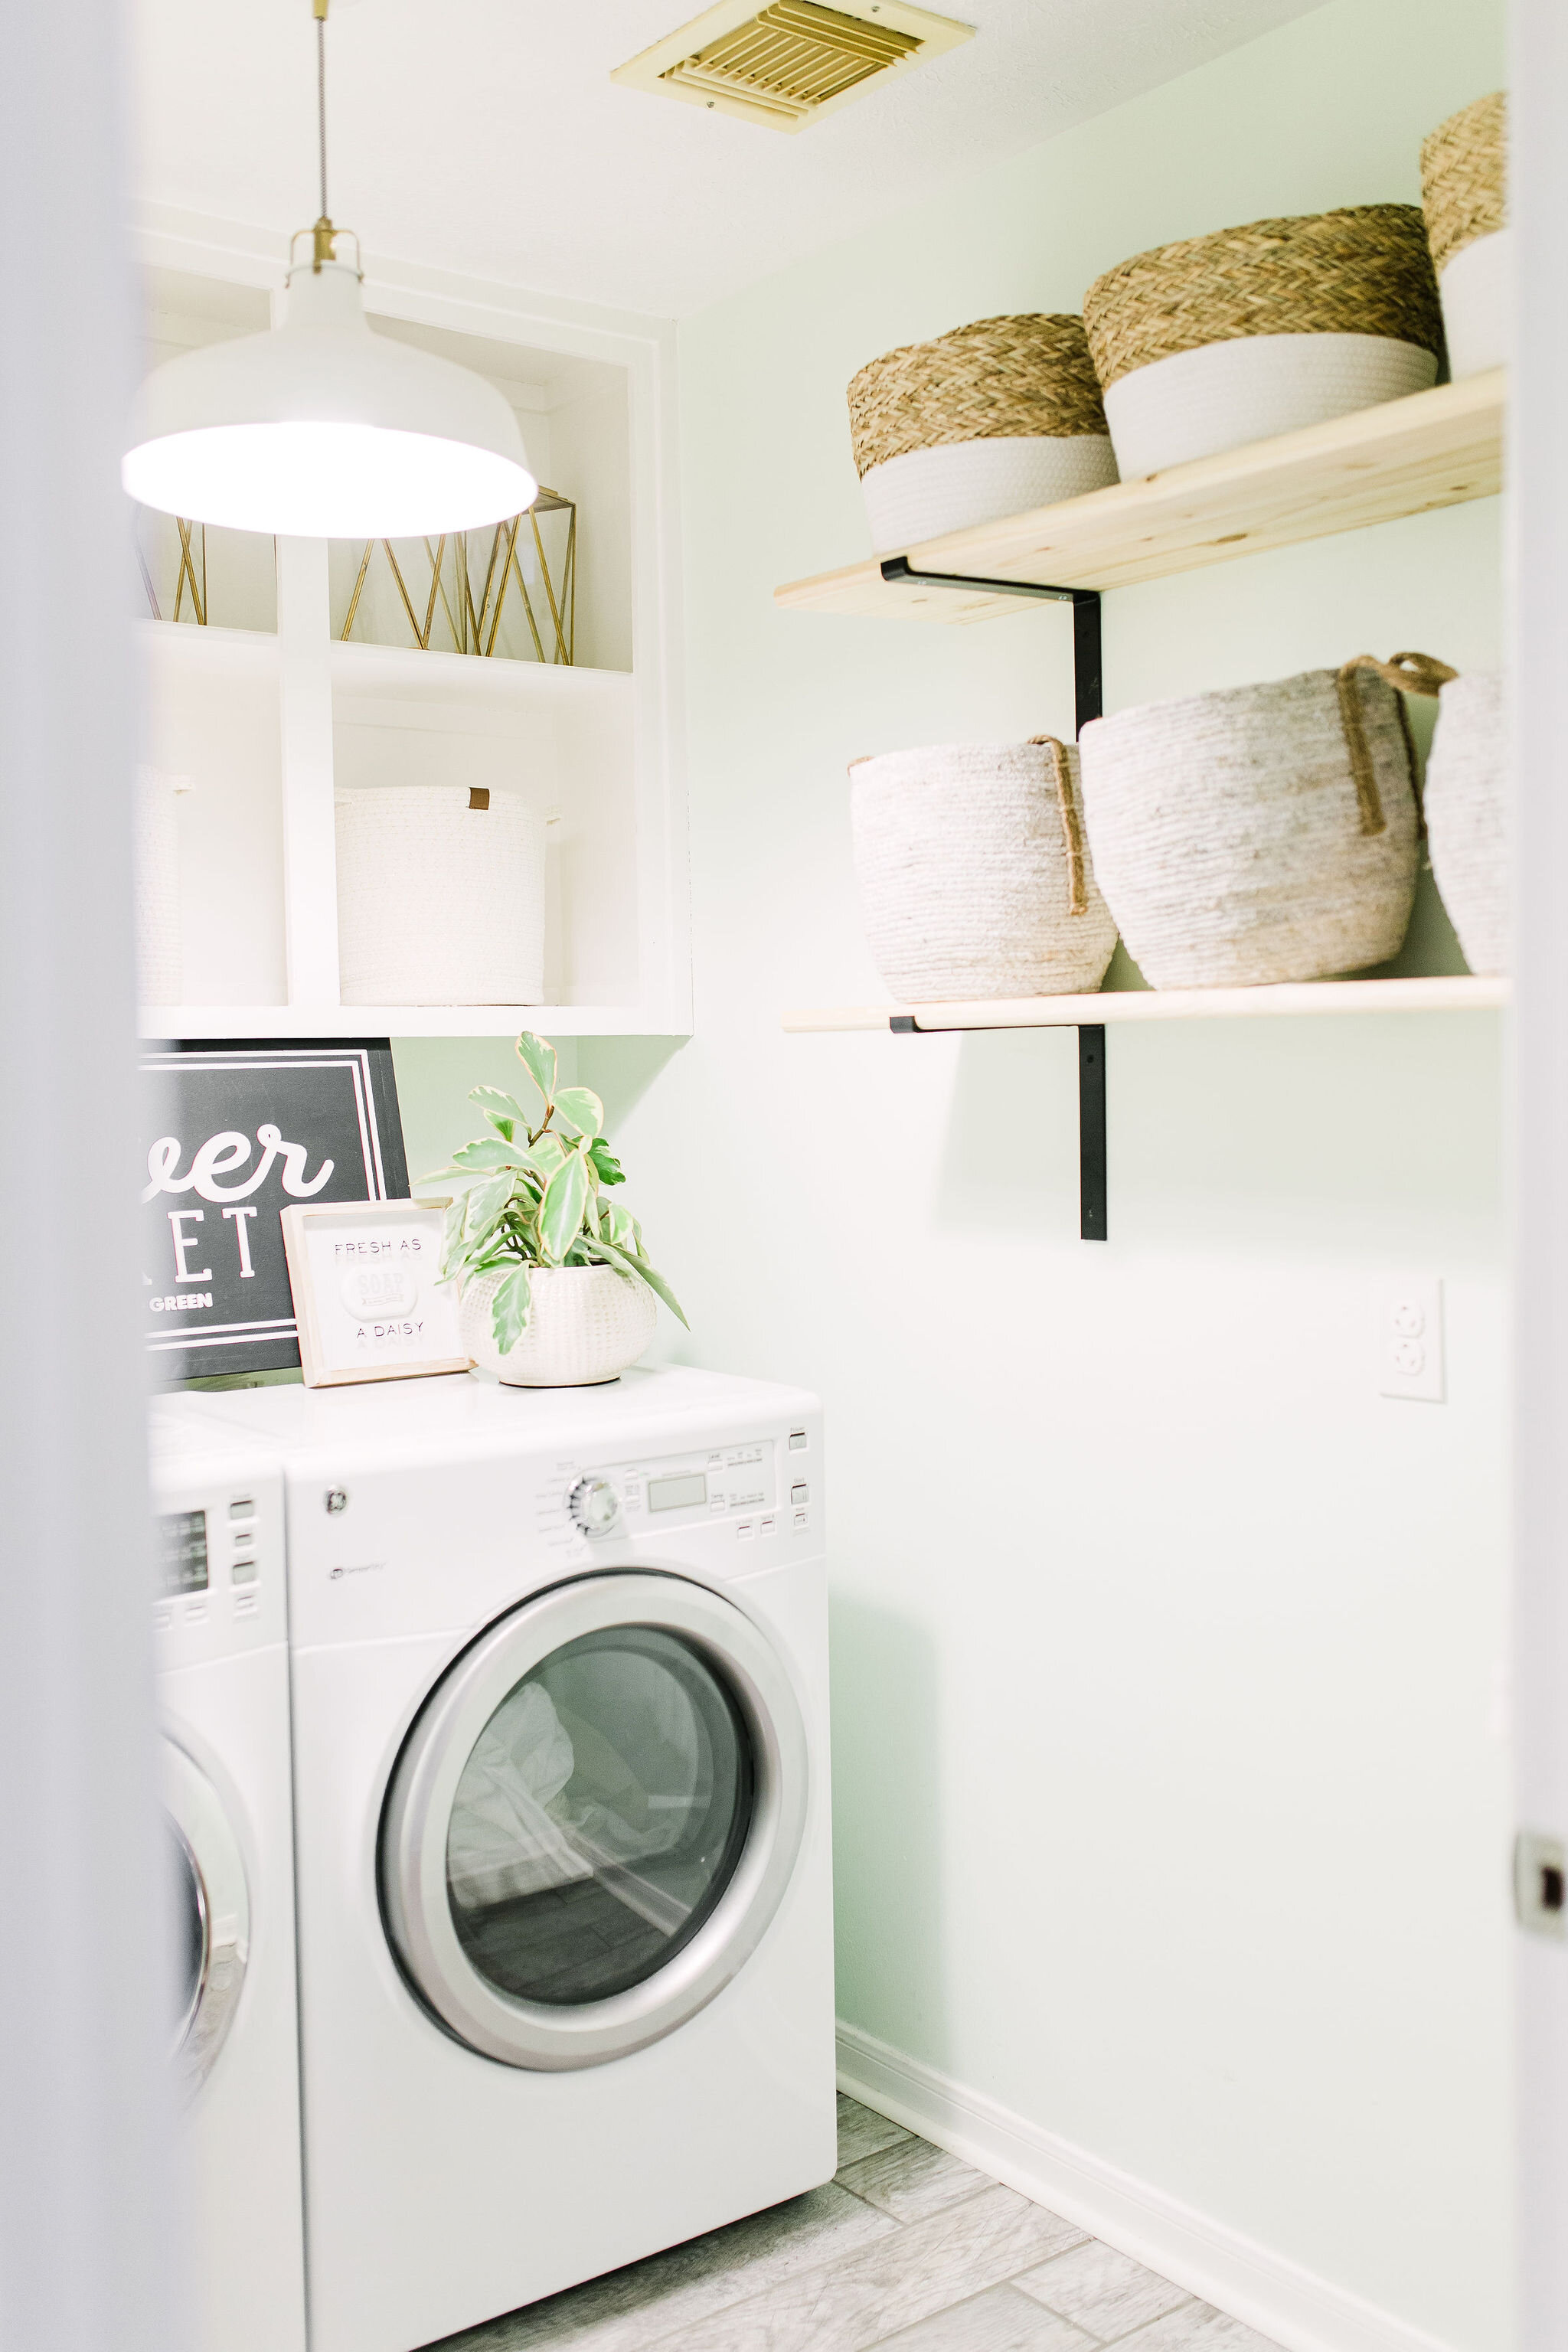
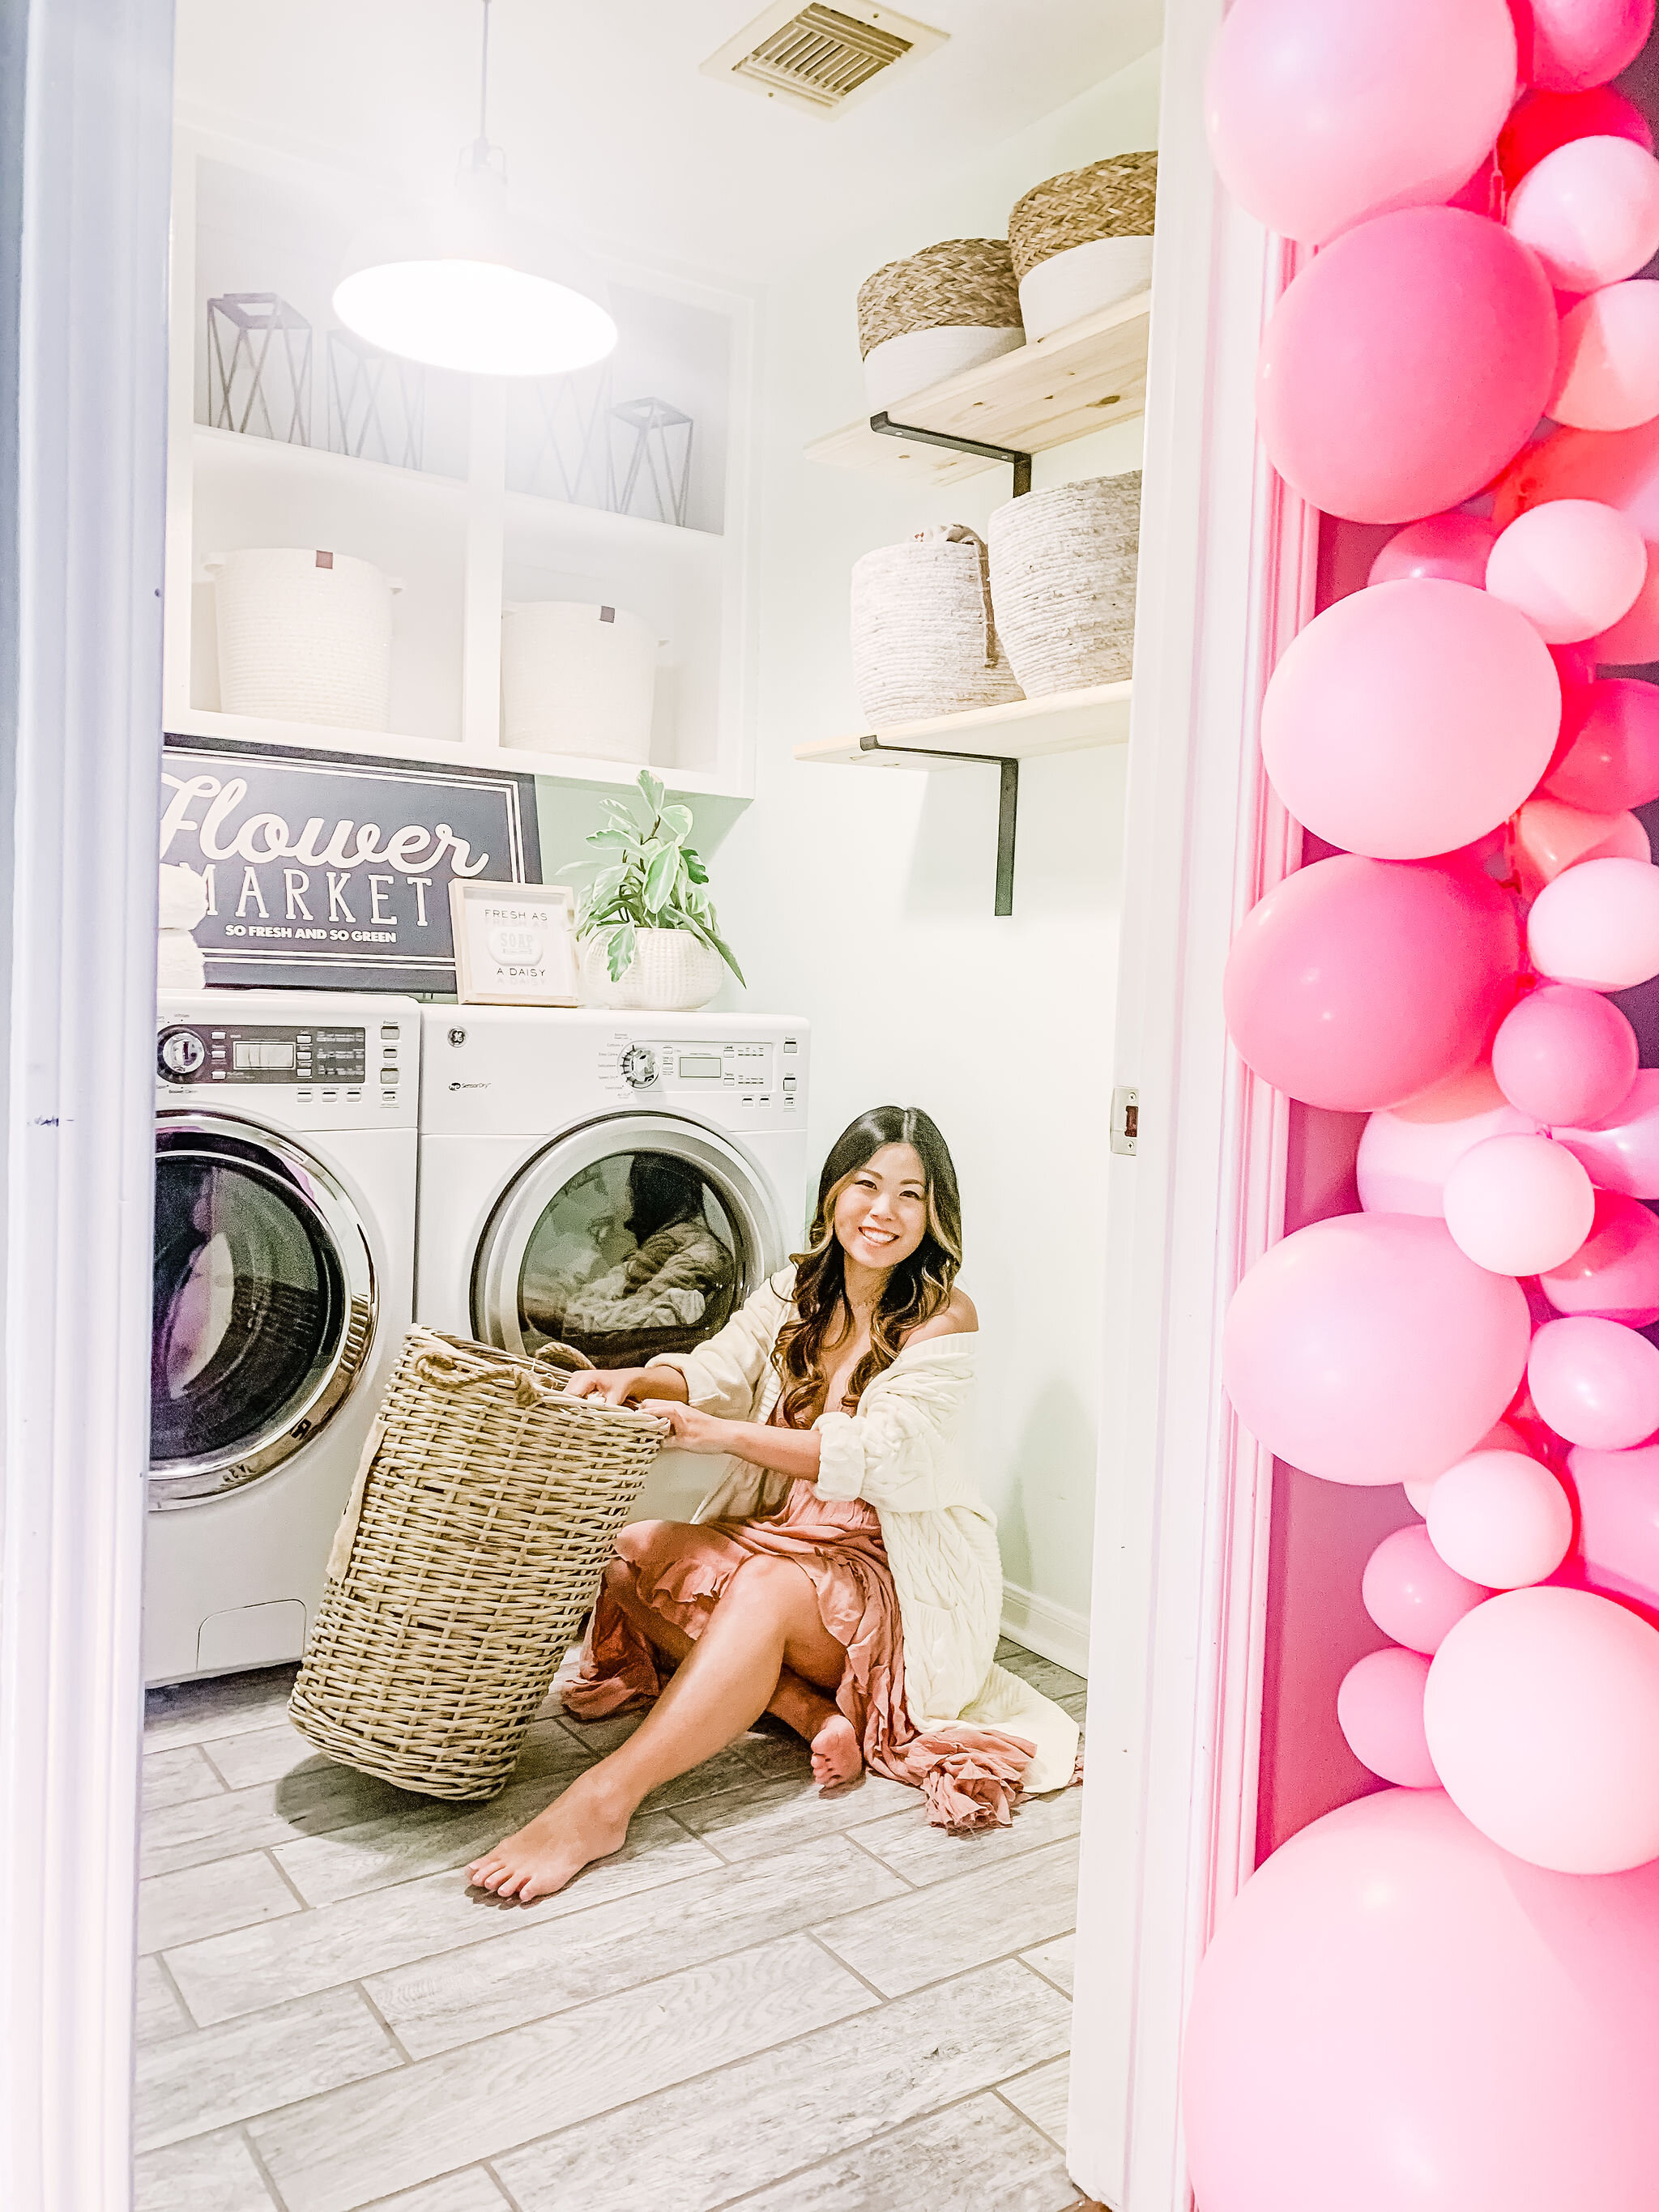
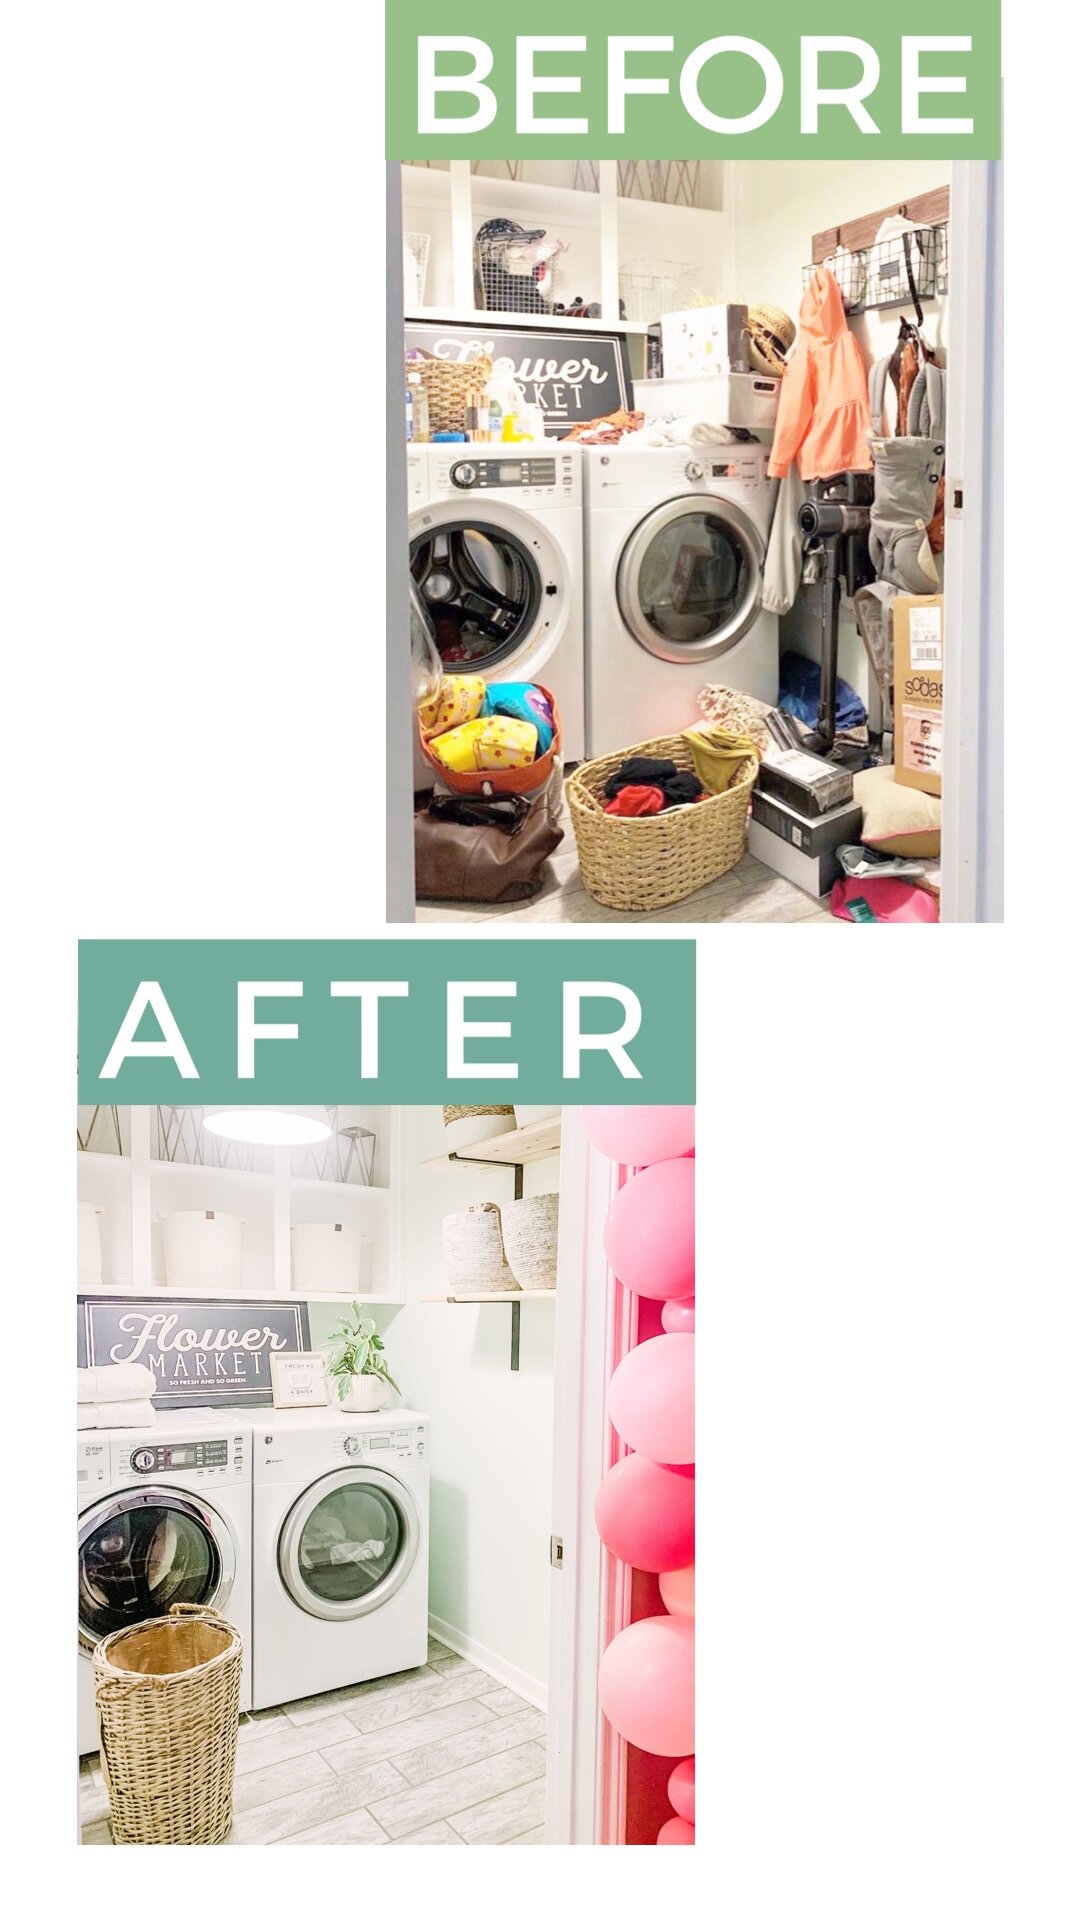
New Year, same busy you right? With the new baby on board, this year our house has just exploded. There is seriously so many “close the door” rooms around here, it’s giving me major anxiety. I know every mama has that dump room. For our house, it was the laundry room! I vowed to myself that 2020 would the the year we get organized and today I’m sharing the most satisfying organization project for anyone on a budget! With a single trip to Gordmans and some elbow grease, we turned our shameful laundry room into functional, organized heaven. I am so excited to share with you the transformation and tips on creating your own organized space! The best part, all the baskets, decor AND building materials came out to be under $300!
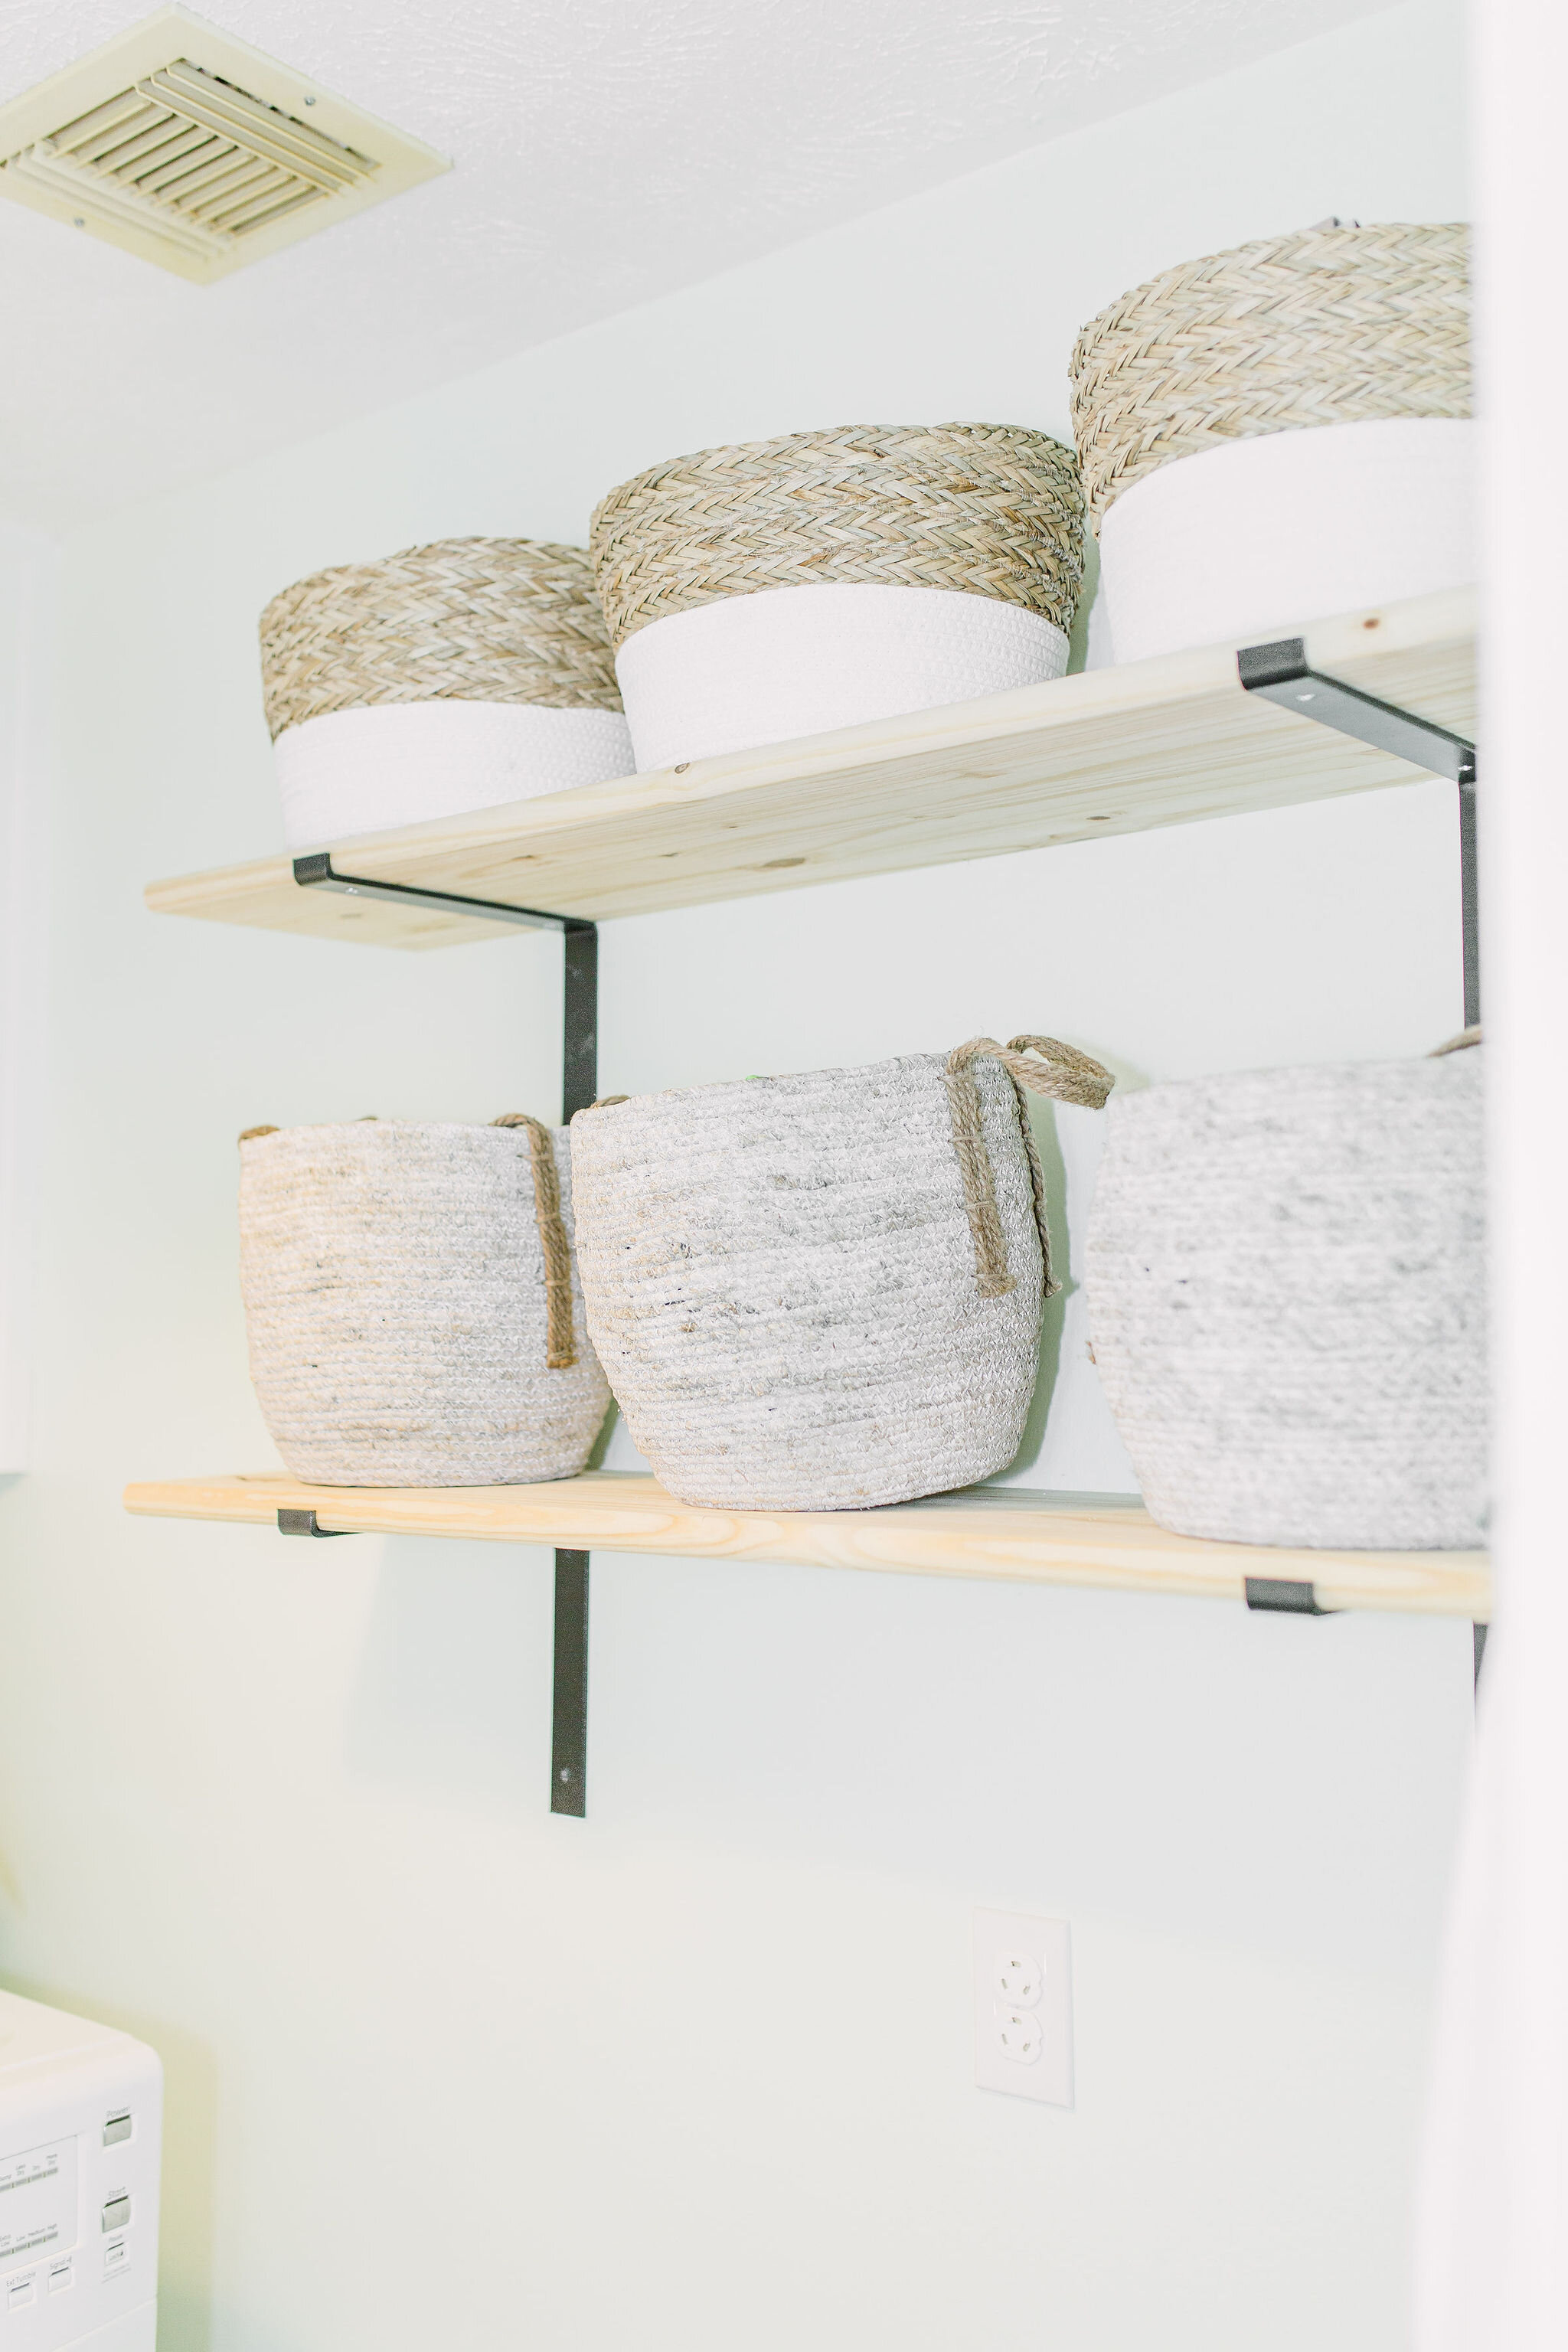
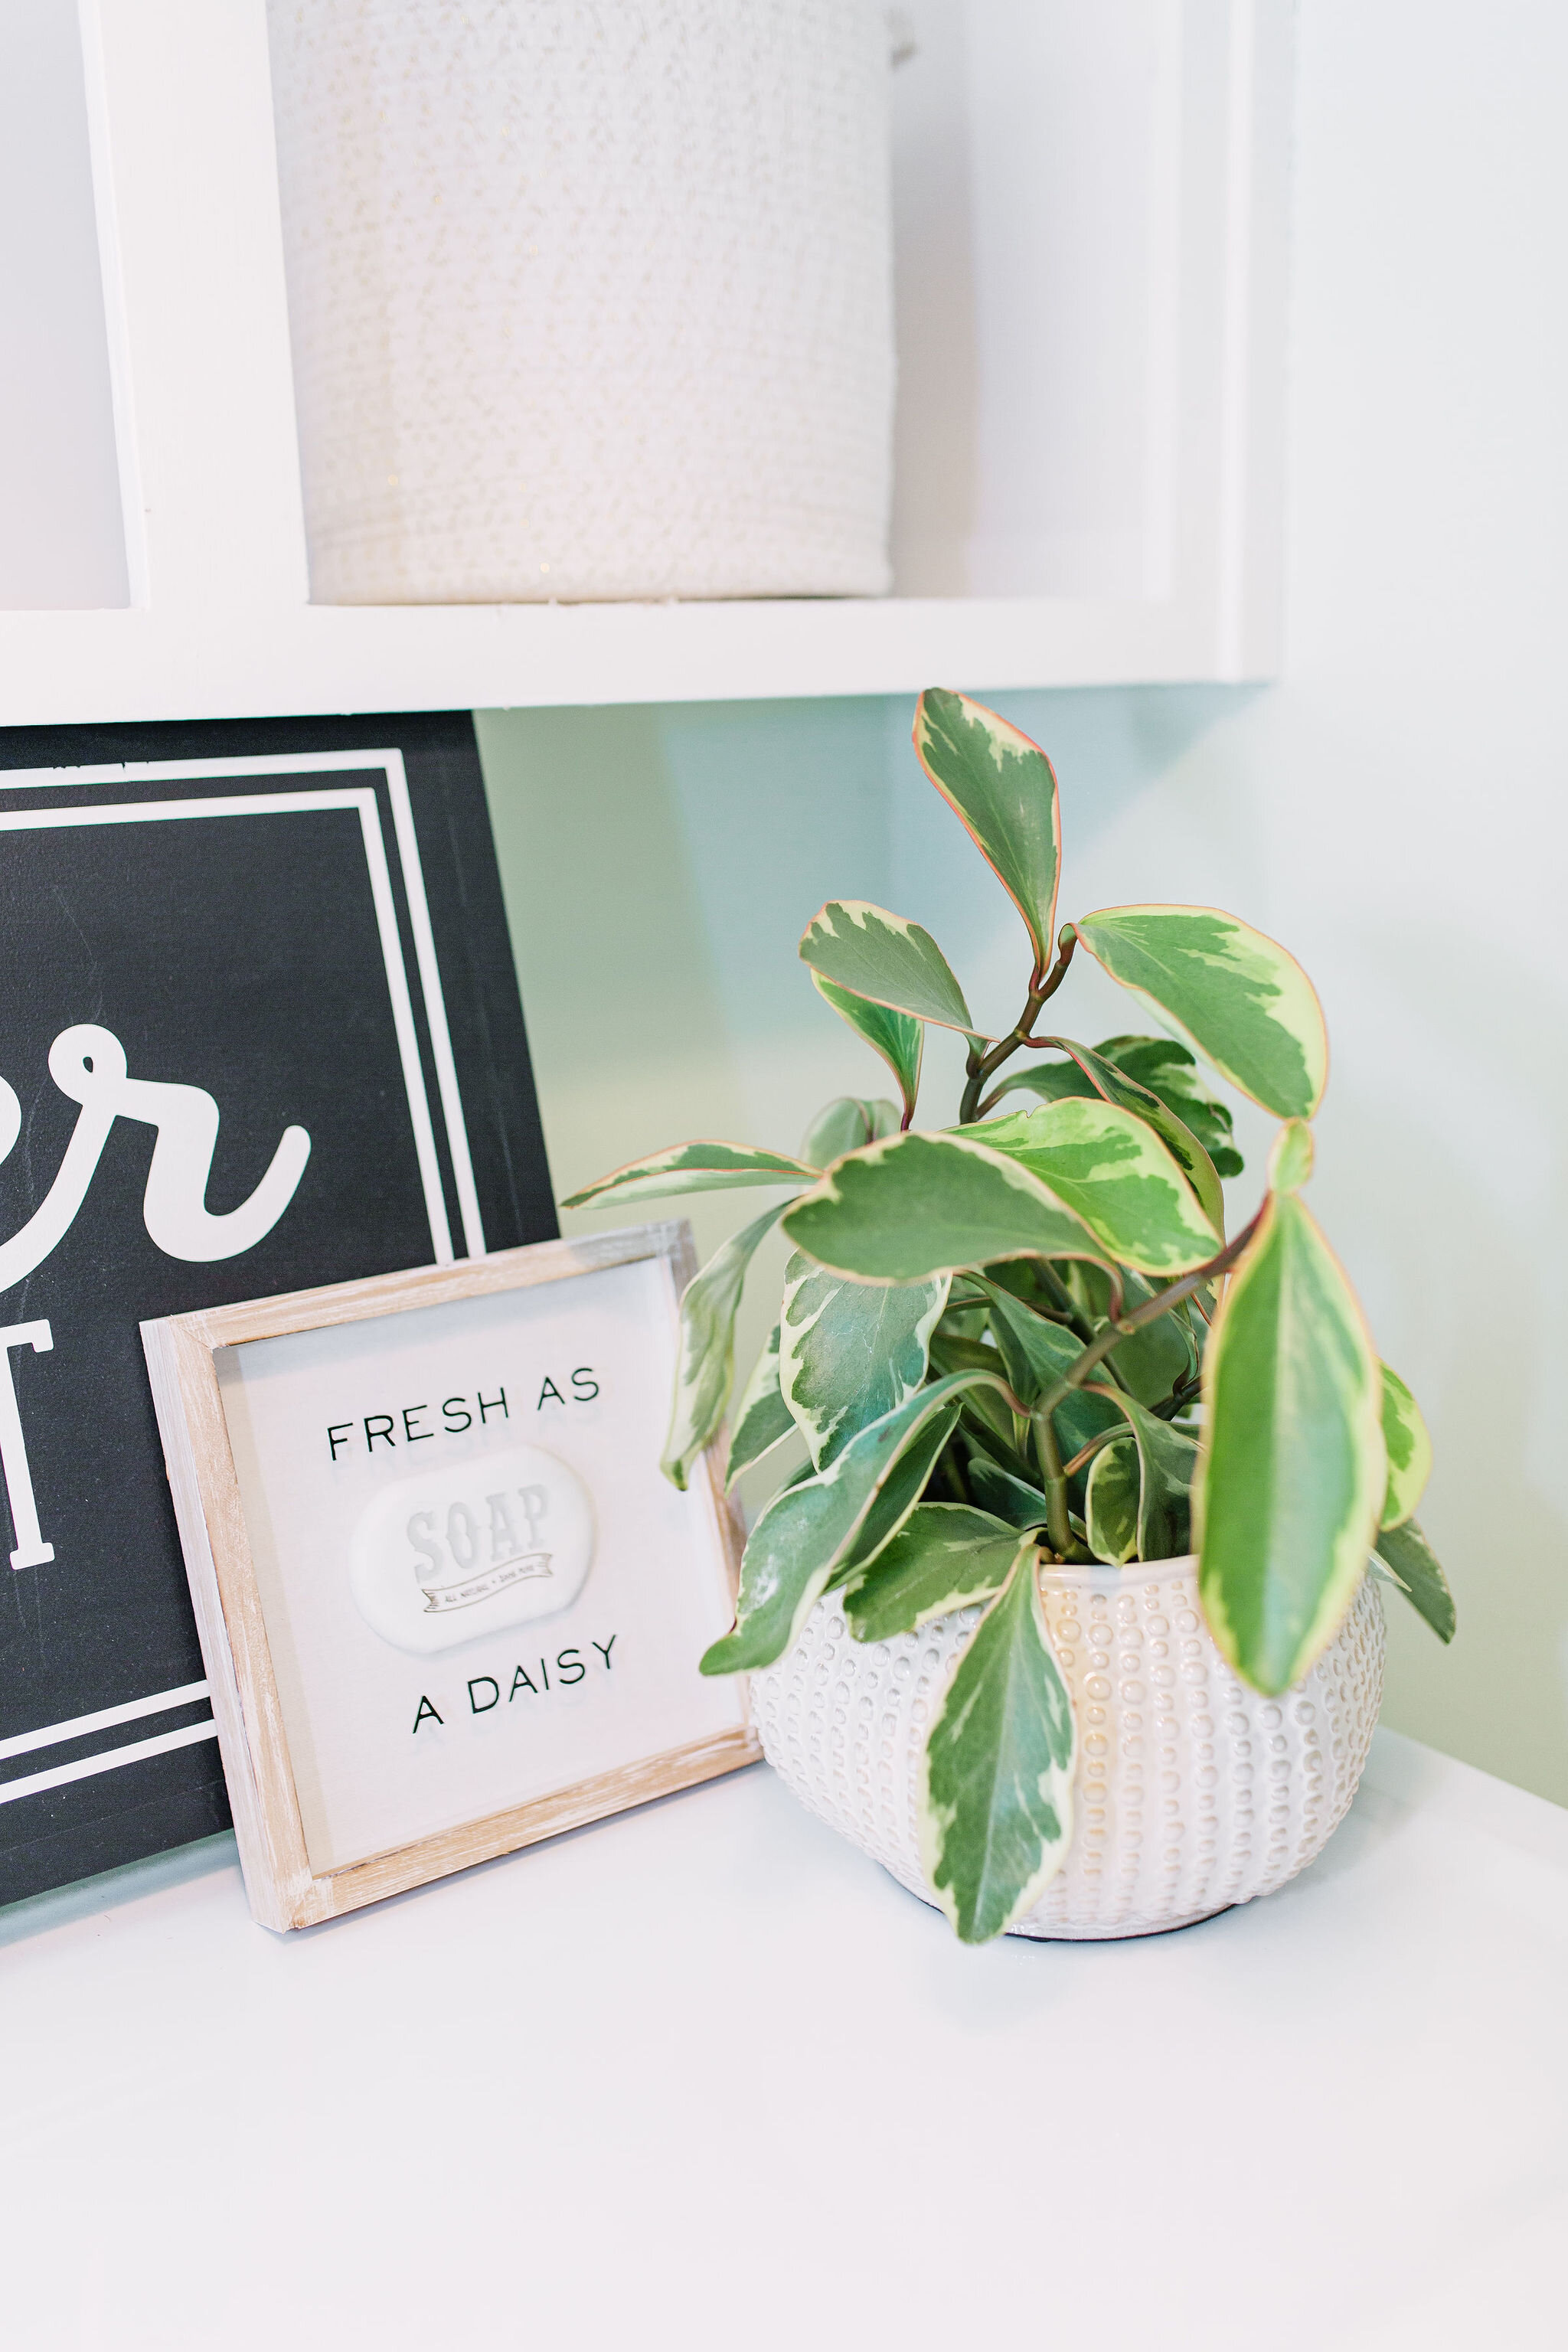
So how did we stay on budget? Gordmans was a huge help! When I started this laundry room makeover, I knew we had to purchase 9+ large and cute woven/ functional baskets to store what I needed in the space. - cat food, picnic blankets, vacuum parts, you name it, all the unsightly things. Gordmans is my one stop shop for amazing deals! Gordmans has everything you need to make your 2020 resolutions come true. Whether it’s fashion, toys, or home decor, their selection is one of the largest I have seen in Houston for off-price retailer (aka they buy overstock from department stores and sell at a lower price - great deals for you). Last year. I found a $250+ gown for Christmas parties at under $40. The entire store is filled with name brands and prices you’d brag about. Naturally, I headed over to the massive new Richmond/ Roseberg location and found rows and rows of organization tools, baskets, hampers even cute signs and hooks to make the space more inviting. Check here for the closest location near you!
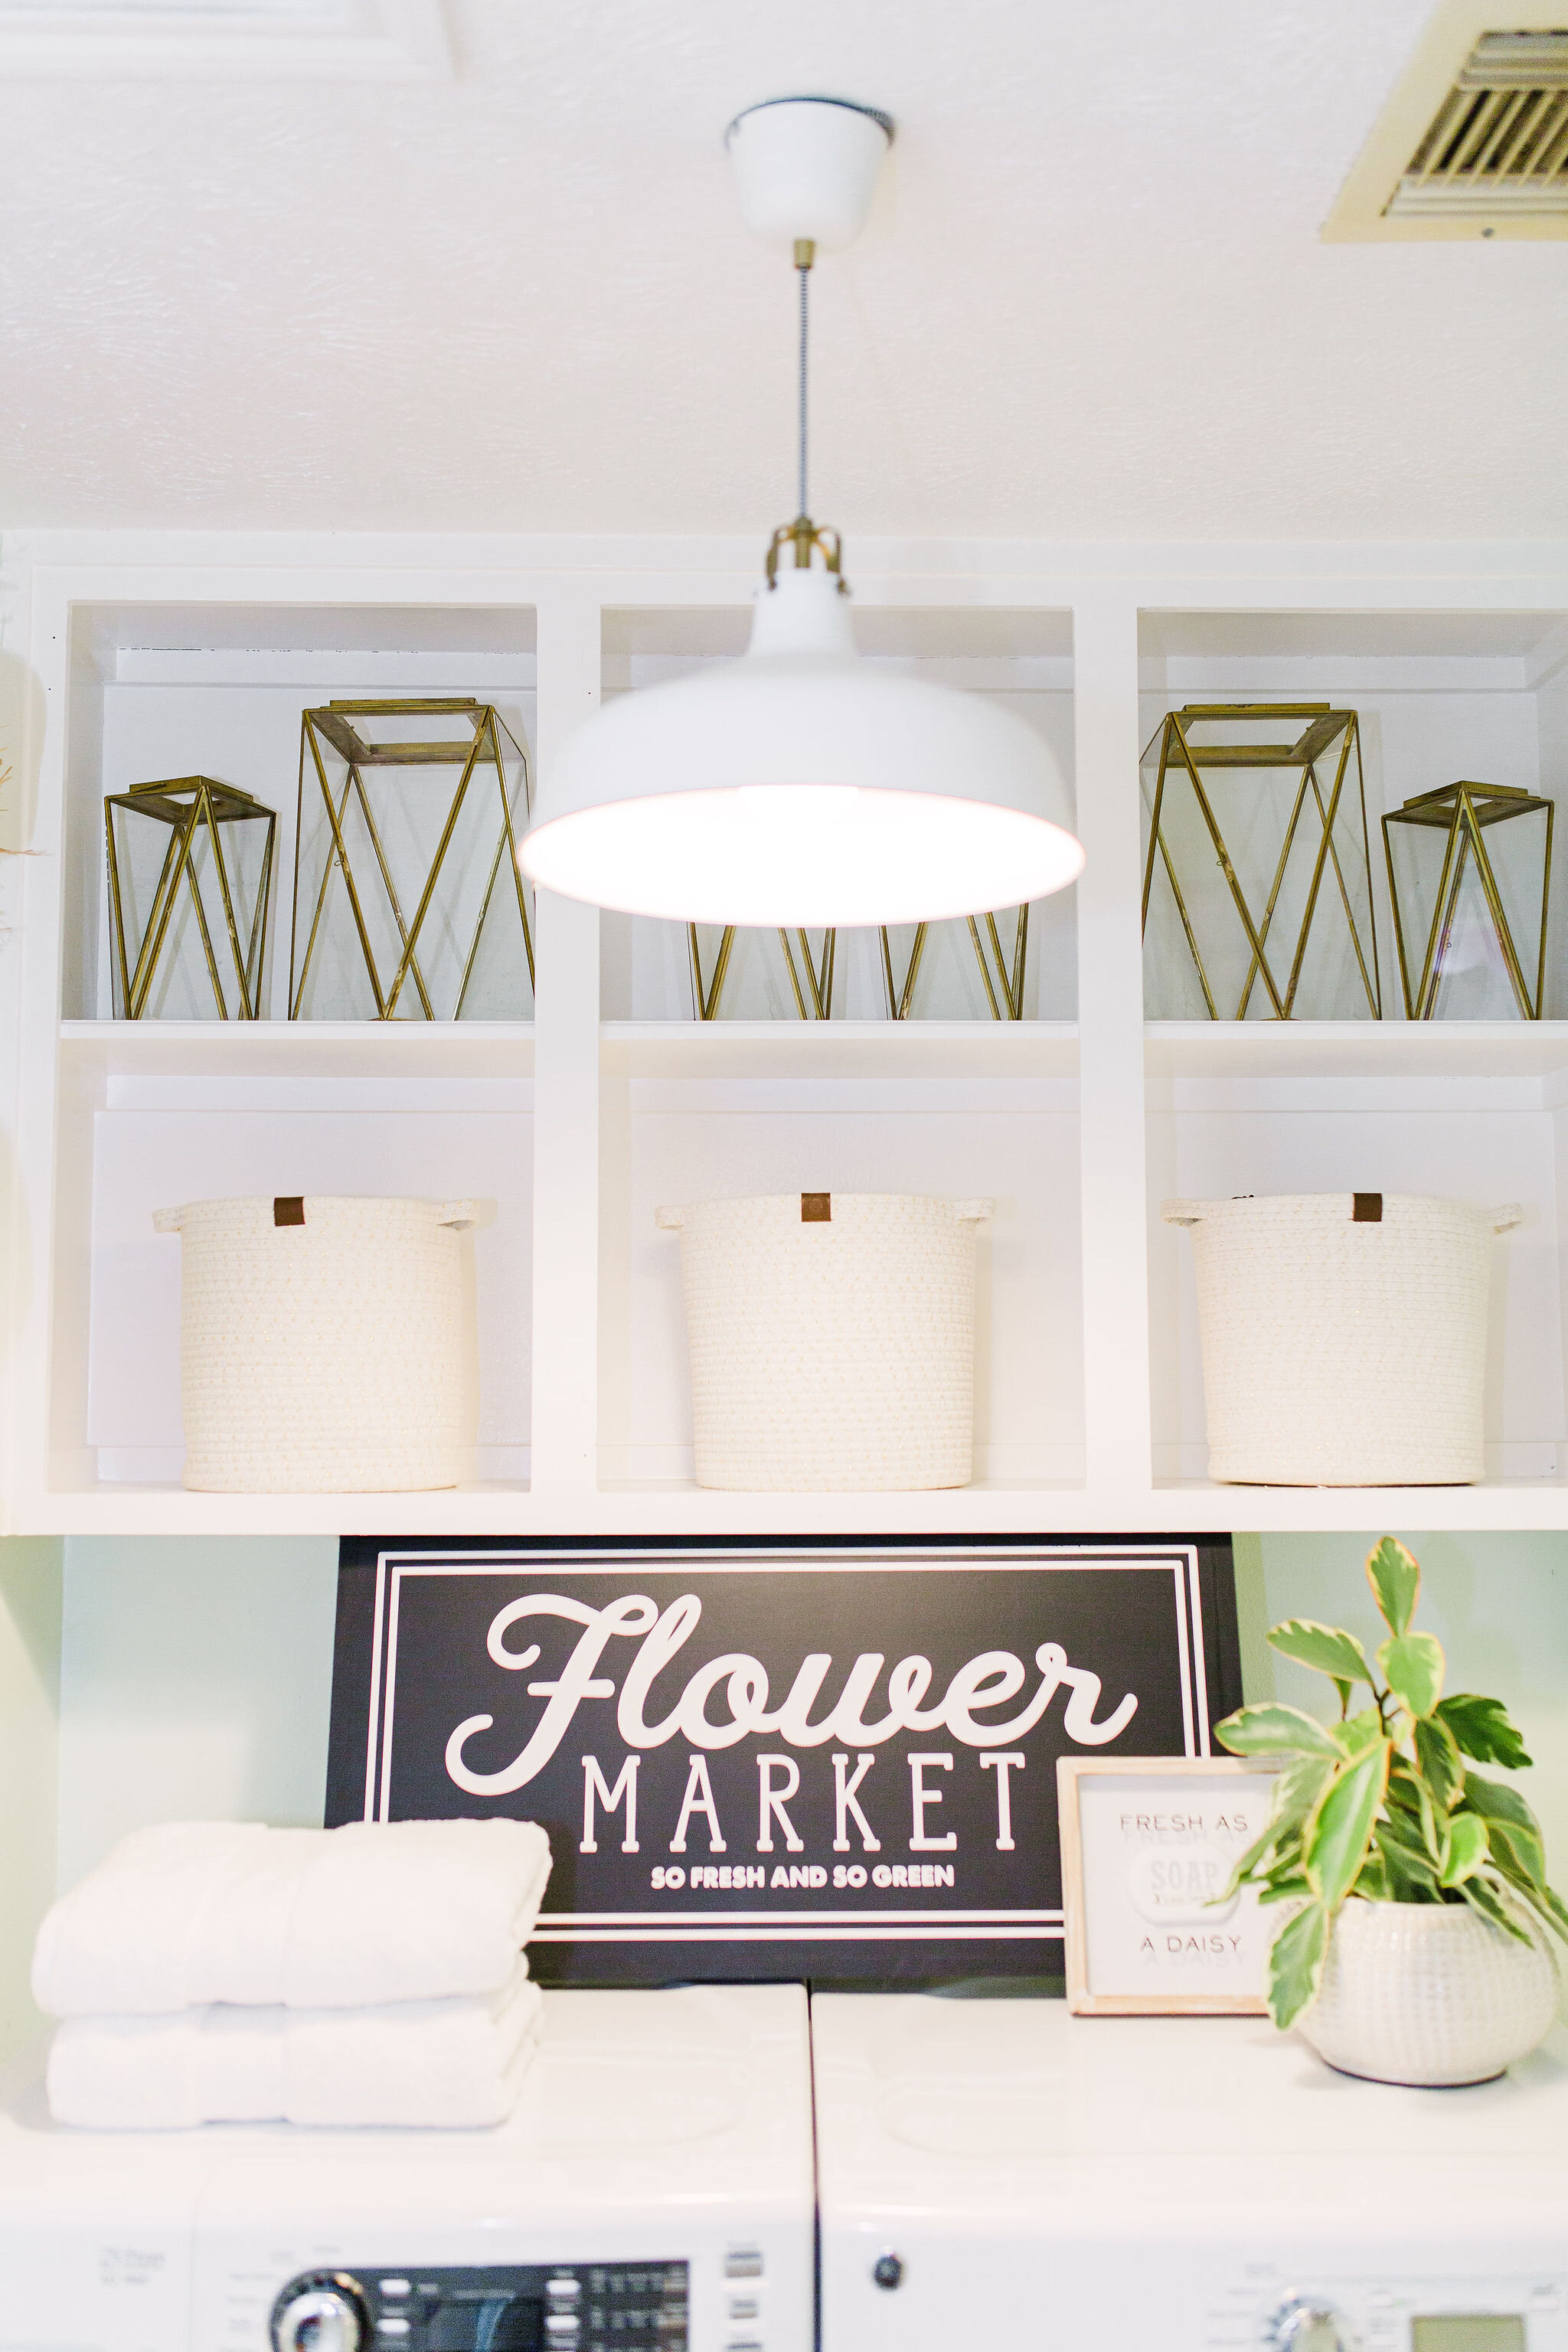
I found 3 sets of woven baskets, a tall hamper and cute laundry signs for all under $120! The 2 biggest tricks I learned are:
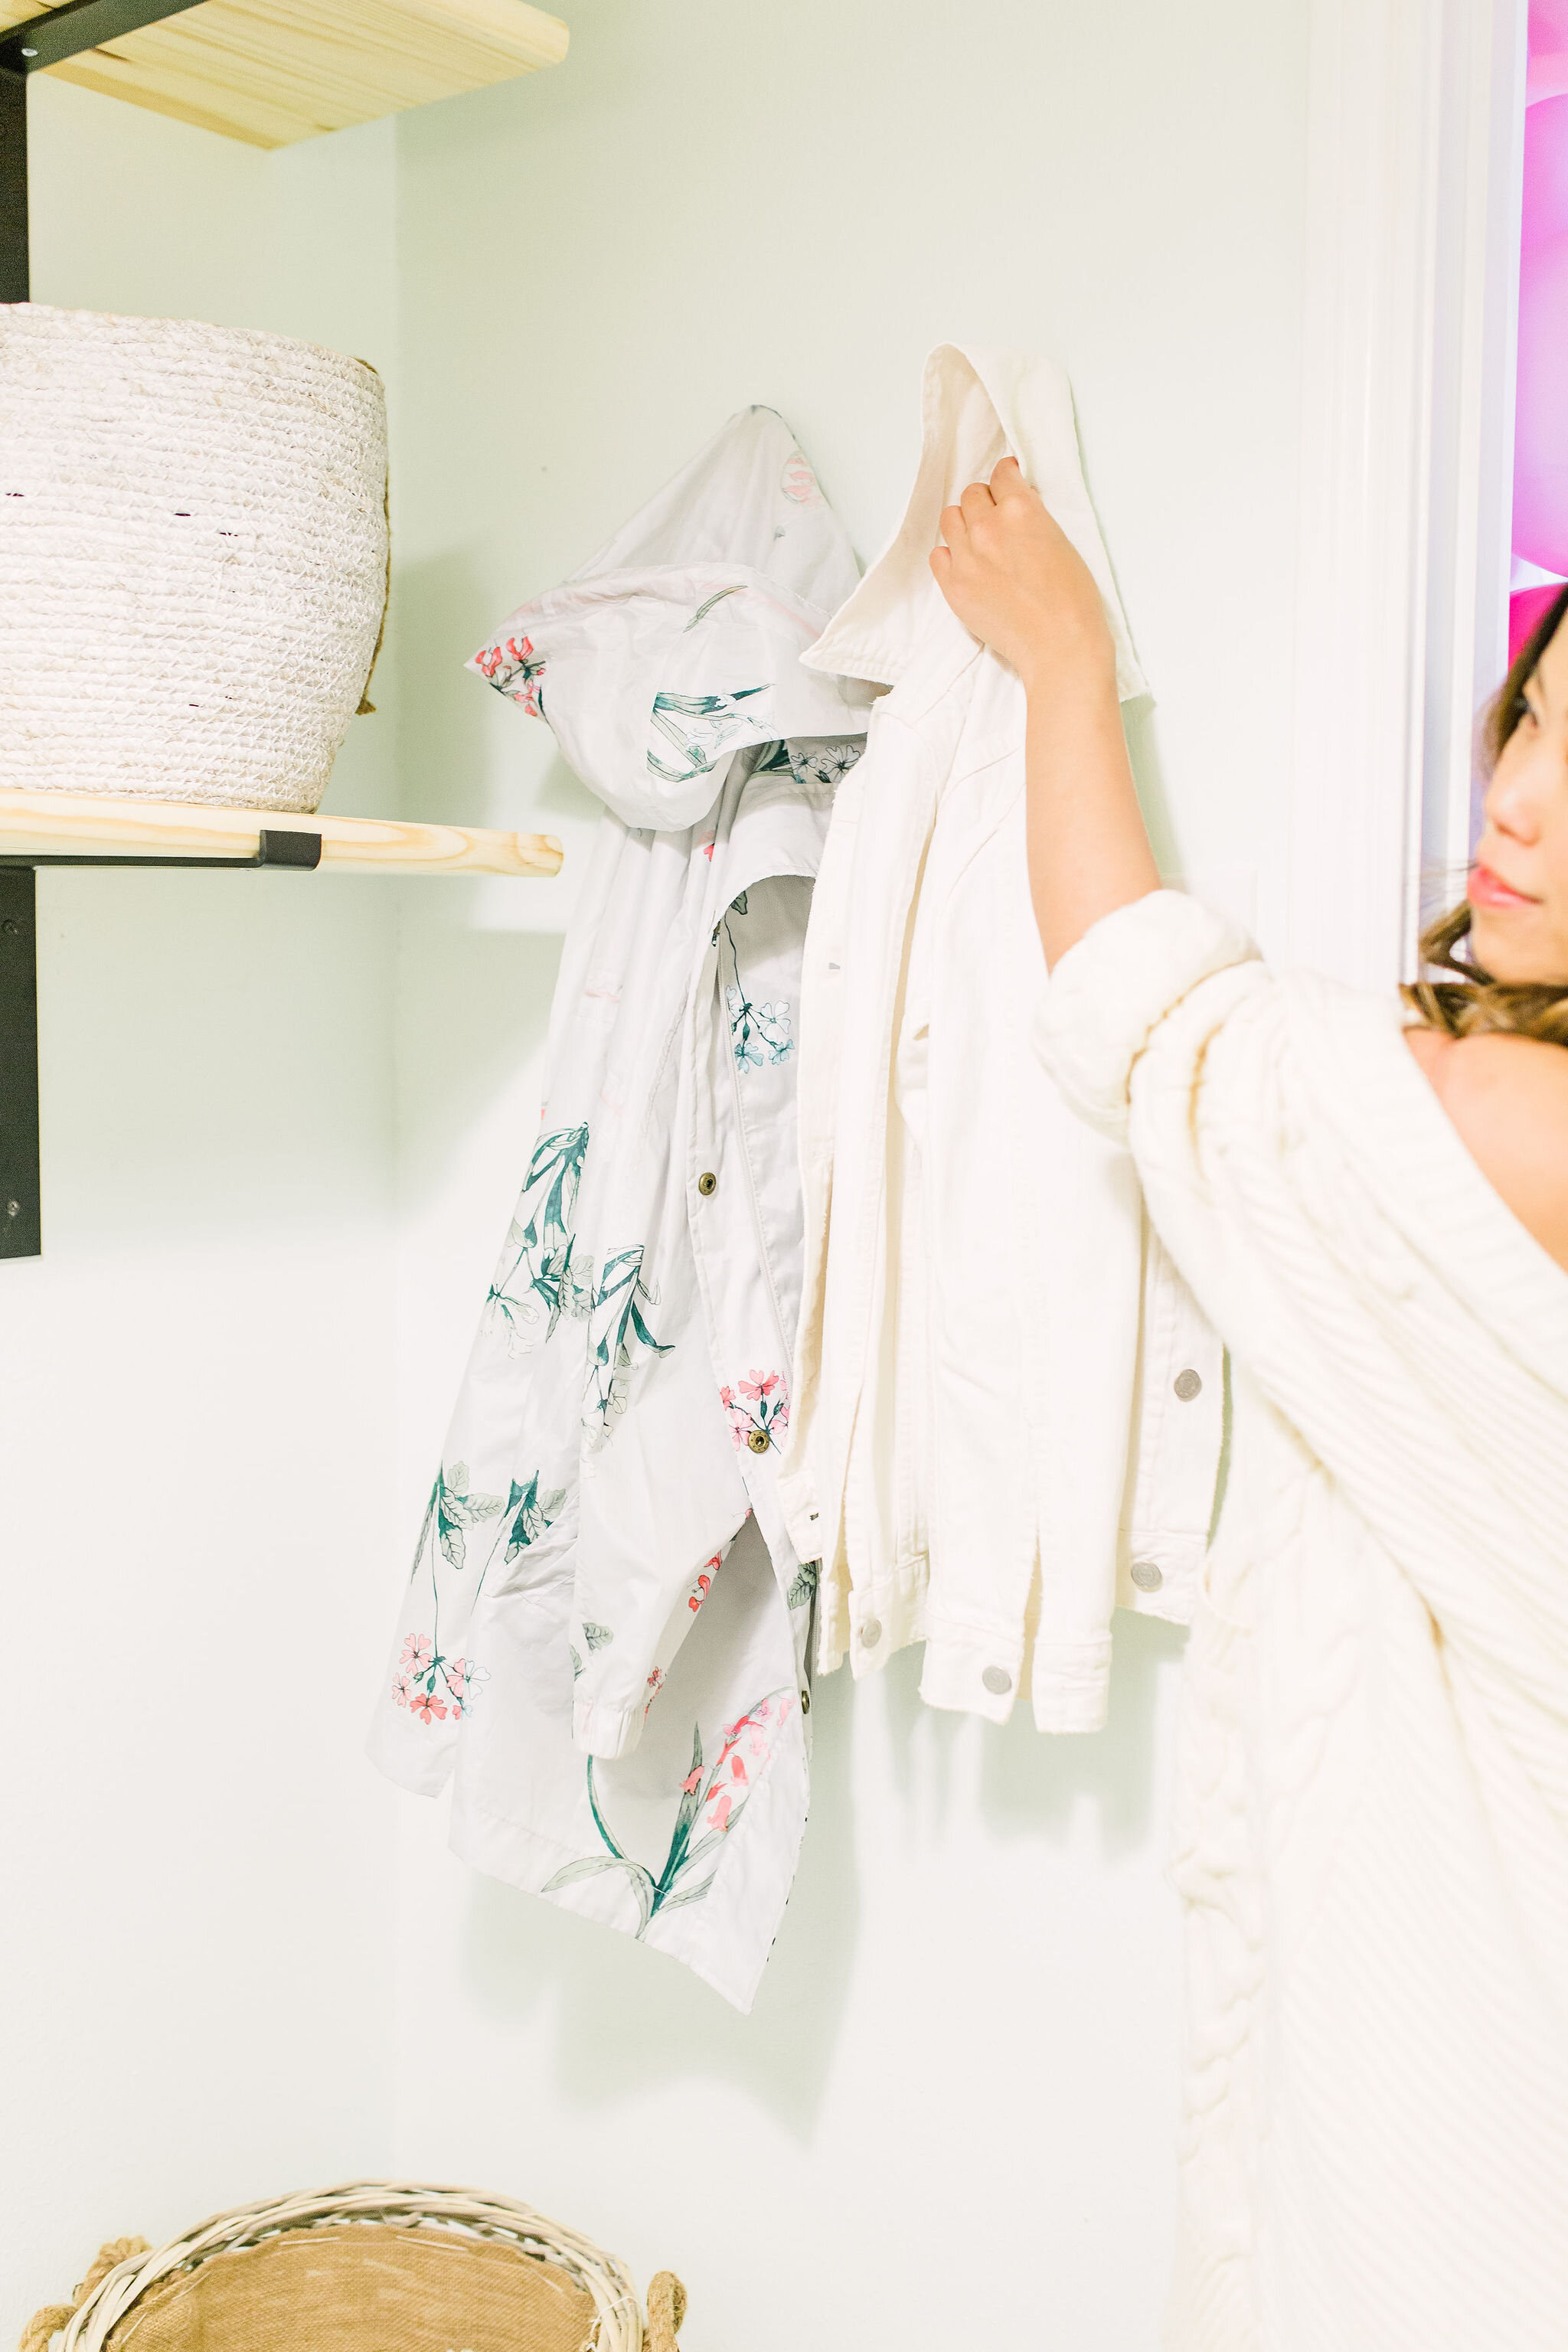
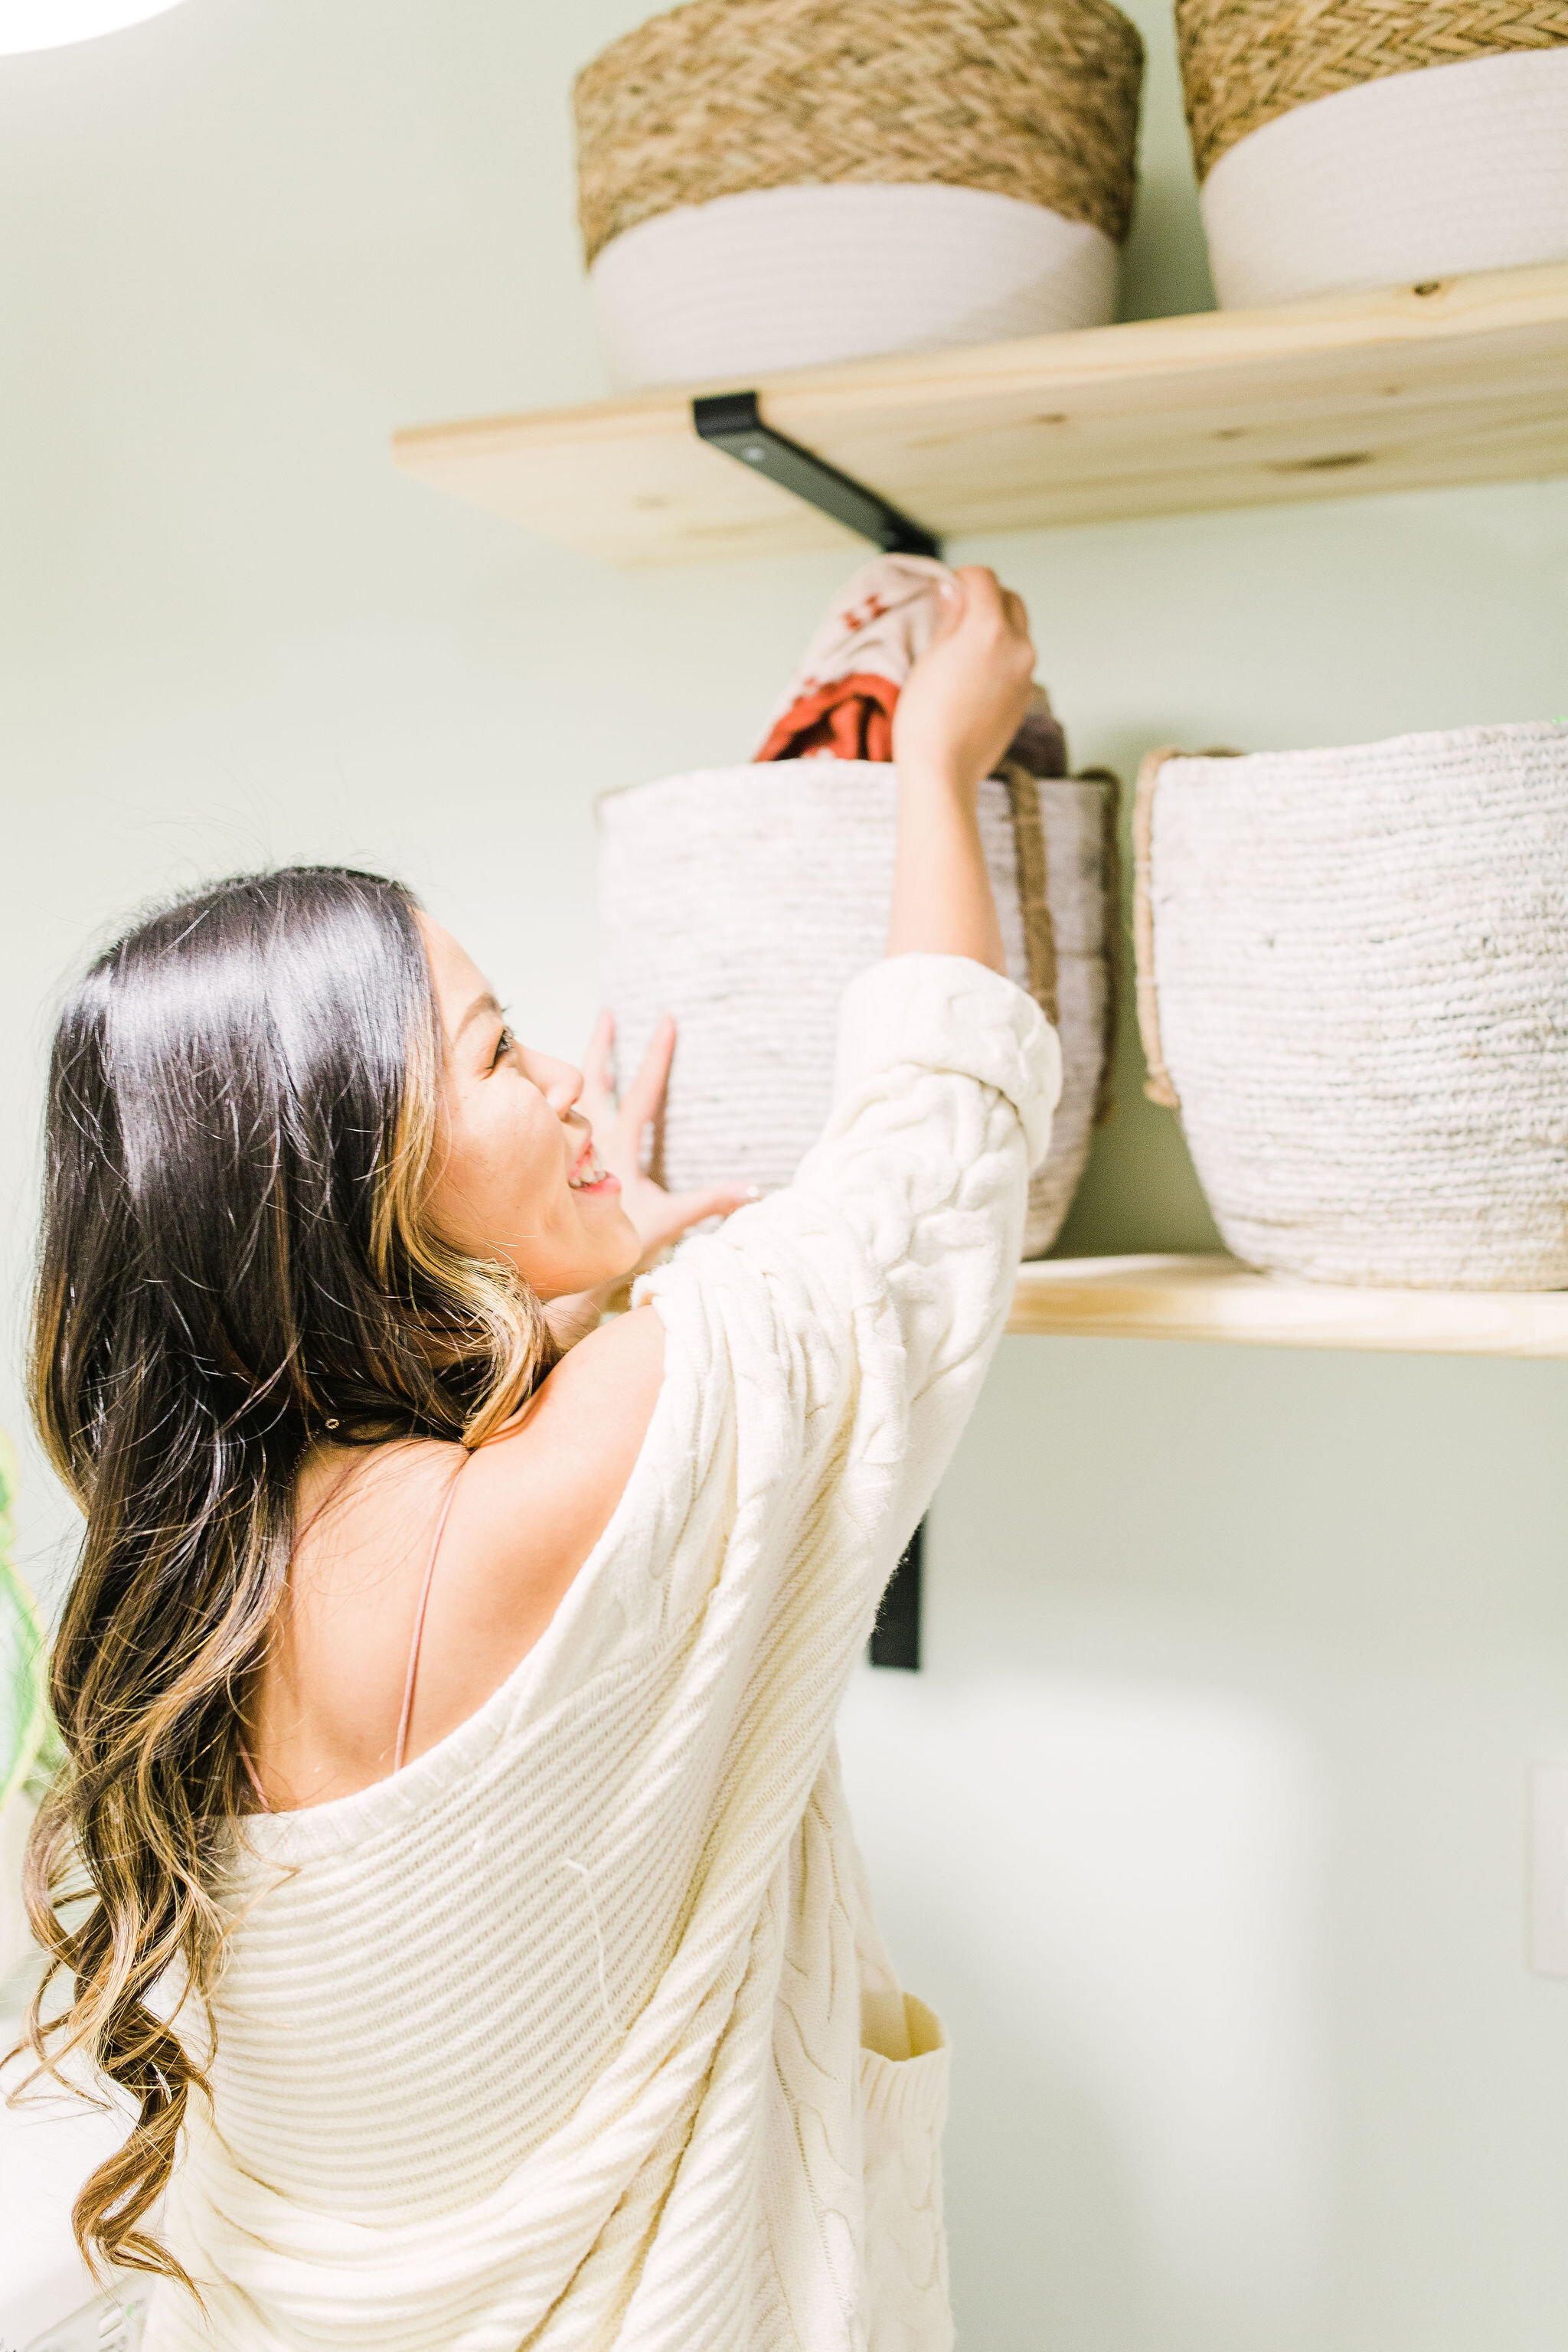
Put all like items together (whether in function or need to access easily). Higher shelves are reserved for items that are infrequently used.
Woven over wire! I had these cute wire baskets from before and it actually showed off all the mess I had instead of hiding them. Wire basket are see through and actually tore off some of the paint in the cabinets. Woven baskets that held their shape made the area look more cohesive!
As for the DIY shelves, I looked near and far for a kit that would hold 100+lb in weight and was made of real wood. Because we are storing heaving things like cat litter and tools on these shelves, I needed them to last. I couldn’t find anything on the market that didn’t break the bank so we decided to build it with my Dad’s help. Here are some tips!
Materials:
Use pine stair tread wood to save time and money. We found solid pine pieces that were the exact length and 12 inch width, perfect for shelves at the local hardware store for under $12 a piece. This way, no saw-ing or woodworking was needed!
Invest in good quality brackets. Brackets in this space made all the difference. I love the heavy-metal look and these were a bit of a splurge at $9 a piece compared to the $3 cheap route but I think it adds so much more to the space
The rest is simple. Find the studs and use wood screws to secure brackets on the wall. Make sure to use a level ruler to make your job easy!
The shelves came together in one afternoon and make a huge functional impact!
Does it have you ready to start organizing? Then I have a treat or you! I am giving one lucky ready a Godrmans gift card to make their 2020 goals come true. Head to my IG to enter!


